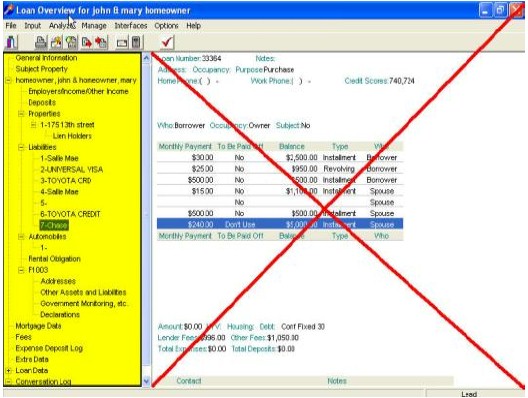
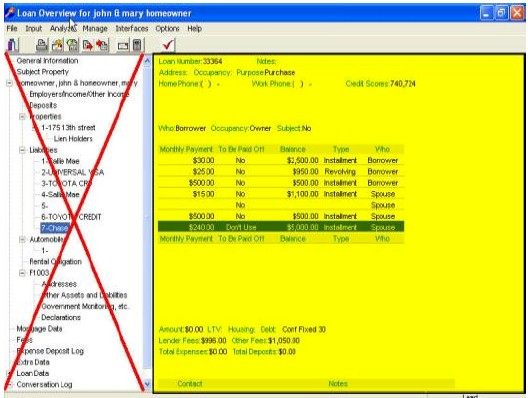
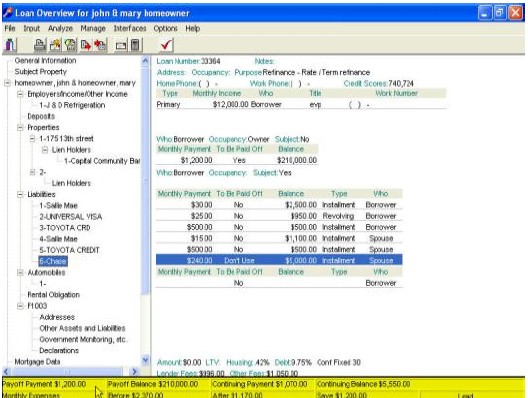
The Loan Overview is the navigation center of a loan file. From this screen, a user can view vital information about the file on screen, access sub-screens, execute necessary functions, gain access to print forms, and edit loan information. The Loan Overview screen is divided into two sections.
Left side – Data Navigation Tree
The Loan Overview provides a quick “data tree” that organizes and lists all sub-screens. The data tree is the road map that shows a user where all vital loan information is contained. In addition to having a list of data topics relating to the loan, the tree contains “+” and “-” symbols, to the left of certain items, that allow the data tree to be collapsed or expanded to view additional information. The “+” icon indicates that the data tree may be expanded by using the right arrow key, double-clicking or right-clicking, and selecting the Expand Branch option. A “-“ icon indicates that the data tree can be collapsed, hiding all associated items, by using the left arrow key or right-clicking and selecting the Collapse Branch option.
Each item on the data tree corresponds to a sub-screen relating to that topic. Sub-screens may be opened when highlighted by double-clicking, pressing the Enter key or right-clicking and selecting the Modify option.

Right Side – Key Information
The right side of the Loan Overview contains key summary information relating to the loan, such as loan amount, LTV, debt ratios, contact information, notes, and other information. Displayed Information lines up with the corresponding screen, shown to the left in the data tree. Most of the information is edited in the respective screens, but some can be edited within the loan overview screen itself. Additional items can be added to or deleted from a Navigation Tree heading directly in the Loan Overview screen. For example, additional deposits or properties can be added. Adding an item can be done using the Insert key, or right-clicking on the desired heading and selecting the Add option. Removing an item can be done by right-clicking the mouse and selecting the Delete option or by pressing the Ctrl plus Delete keys. A prompt will appear requesting confirmation of the removal of the item when delete is selected. The payment of liabilities can be toggled from "payoff", to "don’t pay", to "don’t use" by pressing the Ctrl
plus Space Bar keys.

Loan Summary Bar
Located at the bottom of the Loan Overview, eight fields are continuously updated to show valuable loan summary information. The bar shows how the borrower’s total monthly payments will change as a result of the loan and updates the figures as options change. It functions as a good, quick-reference, sales tool to show information, such as the borrower’s monthly savings when refinancing. The Screen Summary is available on refinance loans only.

